Love them or hate them the Westfalia trailer has become part of the ballooning scene. A tad on the stylish side with the oft-copied clam lid, they are light and tow well, that can’t be denied but they do have their quirks. They are prone to bending drawbars, brakes locking up, frames lids breaking, tyres wearing unevenly, lights not working, jockey wheels dropping (or just packing up), the hydraulic lid assisters failing meaning a broom handle is needed to keep it open and the seal round the lid forever dropping down. They do however have two outstanding attributes. The locks are renowned for not working from the word go, however our John was involved with a rare one that had a working lock. The balloon had flown away and as he loaded the fan the lid rather sedately lowered itself and locked trapping him inside. These were the days before the mobile phone so it was a few hours later the aeronauts finally returned and freed him. The other is the rather impressive way they can hit you right up the jacksey when you brake, a combination of the brakes not being adjusted properly and the damper going west. In the first episode of getting one up on your Westfalia we’ll look at changing the damper but beware, as in all things technical its rarely one thing that causes a problem.
It never ceases to amaze us how little maintenance is given to trailers. We have horse trailers come in that have nearly flat tyres and rotting floors, balloon trailers with no brakes, bald tyres and half the lights not working and more. Common denominator is that both probably carry thousands of pounds worth of stuff yet little, or no, regard is given to faults as they develop which means that eventually it requires major surgery to get the thing back into working order. So, episode one, curing the alarming clunk as you brake and the trailer catches up.
Let us first put a myth firmly to bed. It is true that this is often the result of the damper failing but the reason they fail is that the brakes have not, or have never been, adjusted correctly. If this is the case the slack in the brake linkage means that the damper will always be operating to its full compression and, as the welding of the eye to the damper is pure pants, inevitably it breaks the eye off or results in the piston seal going and the fluid leaking. So be sure to realise that just replacing the damper will not necessarily cure the problem. First job then is to ensure the brakes are working and are adjusted correctly. This area we will cover more fully in a further episode but basically the procedure is that you must first ensure there is slack in the operating rod, adjust the brakes at the wheels, balance up the cables and then re-adjust operating rod. Unless the brakes are adjusted properly then your new damper will not last very long.
So its obvious first adjust up the brakes properly and take the dear thing, preferably loaded, for a run. If you’re lucky the clunk up the bum may be cured but if not then its time to check and probably replace the damper. Easiest way to test this is to apply the handbrake and attempt to push the coupling in. There should be a reasonable resistance to this and when released it should return slowly to the fully extended position. If it doesn’t, or you can push it in with a digit extended whilst having a cuppa, it is knackered. Removal and replacement of the damper is reasonably straightforward but there are a few early Westfalias that have the coupling welded to the drawtube which makes things a whole lot more complicated but we’ll concentrate on the later models.
Now, things you will need. A new damper!

1. A healthy damper
Before you start on the job make sure the handbrake lever is fully on. As it is spring-assisted there is always the risk that it could fly on whilst you are working on the coupling and in the on position it will allow you fuller movement of the drawtube.
First off you need to undo the two nuts and bolts that hold the coupling to the drawtube. 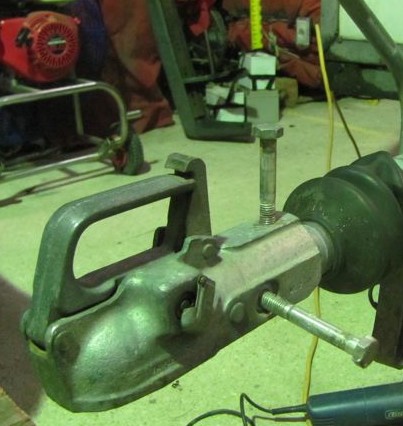 These are different lengths and require a couple of 19mm spanners to undo them. The vertical one also has a curved washer on the underside. Once they are out of way you will be able to pull the coupling off however it may take a clout or two with the copper-hide hammer to do it.
At the front of the drawtube should be a horizontal spacer. 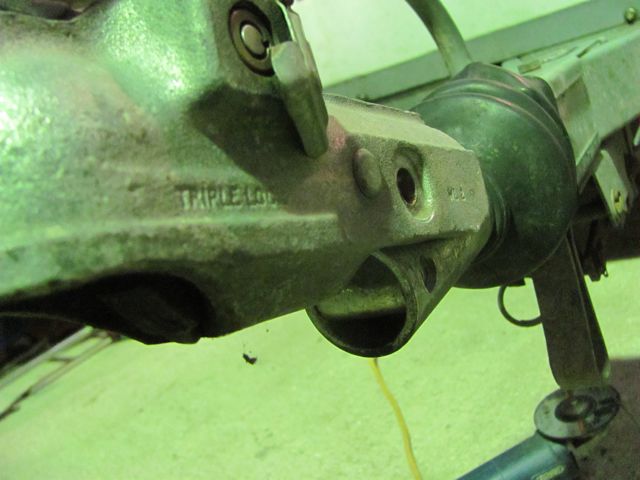 You need to get this out. Pushing the drawtube backwards should do the trick as the damper will push it out. If it doesn’t then lever it forwards through the bolt hole. They usually come out pretty easily though. With the drawtube pushed fully back you should be able to get hold of the damper front eye and wiggle it out if the eye on the back of the damper body has come adrift.
  If it won’t shift then it is most likely that the seal has gone and if you undo and remove the vertical nut and bolt on the square drawtube housing, this time a 17mm jobbie, just about where the drawbar splits into two it will pull out. If the rear eye has broken off then it will be held in place between two top-hat shaped spacers and the vertical bolt. What you don’t want to happen is for the eye to drop down aft of the bolt. We use a magnet on a stick to grab it then pull the bolt out.
 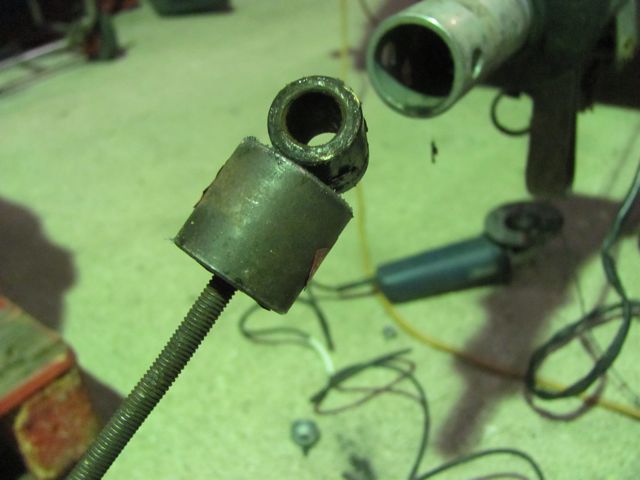 If you don’t have such a thing then carefully pull the bolt out and poke a thin screwdriver halfway down the hole and flick it forward to dislodge it. You can then use a decent bent coat-hanger to drag it out. Big warning here. Do not try and weld the busted eye back on. The pressure in these dampers is quite impressive and getting it hot through welding will be impressive.
Before you rush headlong into fitting the new damper there are a couple of nifty tips that will make it a whole lot easier. First make sure the drawtube is fully pushed in then take the damper and check to make sure the eye on the piston rod will slide easily into the drawtube and line up with the rear coupling bolt hole. The tolerances of these things isn’t that brilliant so you may have to gently file the curves on the eye to get it to fit. 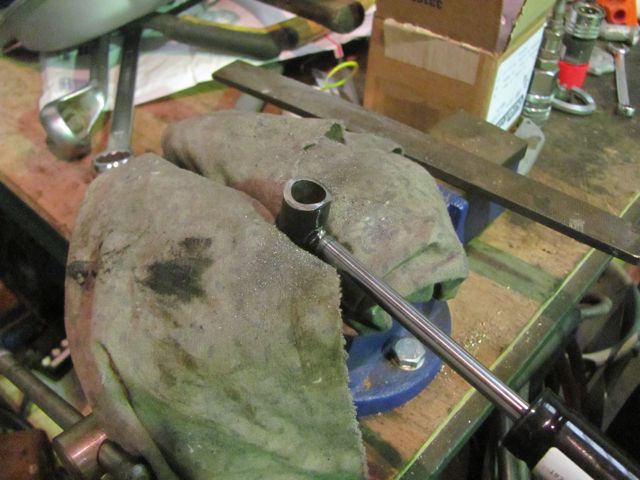 Don’t clamp it in the vice on the piston arm or the damper body. Next, on the damper body eyelet gently file a slight radius on the top and bottom of the rear side.
 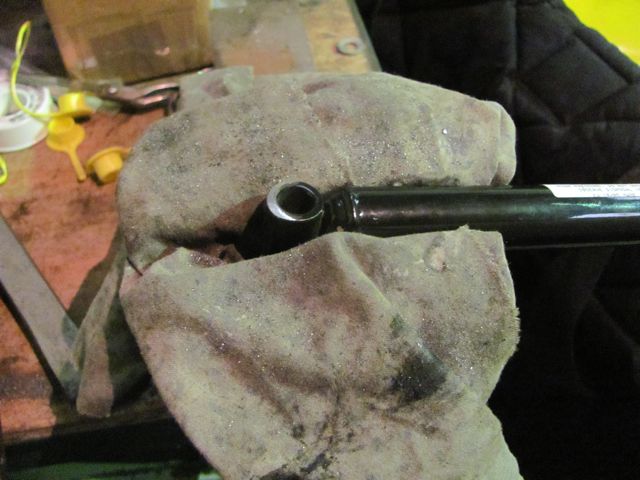 This will help you line it up between the top hat spacers. Ensure that the front and rear eyes are in line with each other. In case you’ve forgotten in all the excitement the damper goes in body first with the eyes vertical.
 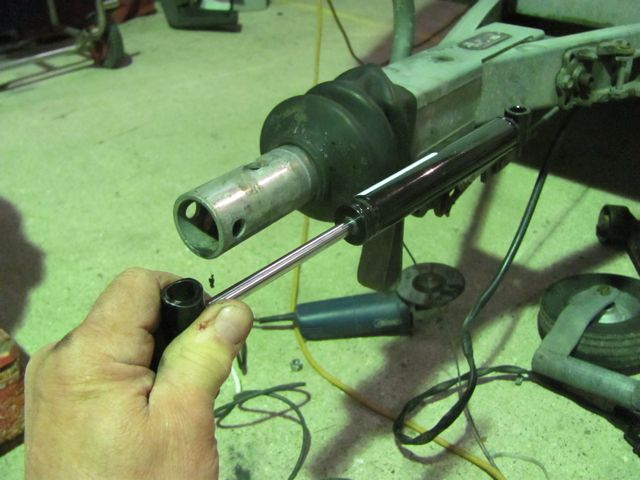 With the drawtube still pushed fully in slide the damper in until you feel it contact the bottom top-hat spacer. You will then need to try and get the damper centred in the drawtube and parallel with it so that the eye slips between the top-hat spacers. This is a bit tricky but you can check progress by looking down the hole on the drawtube body.
 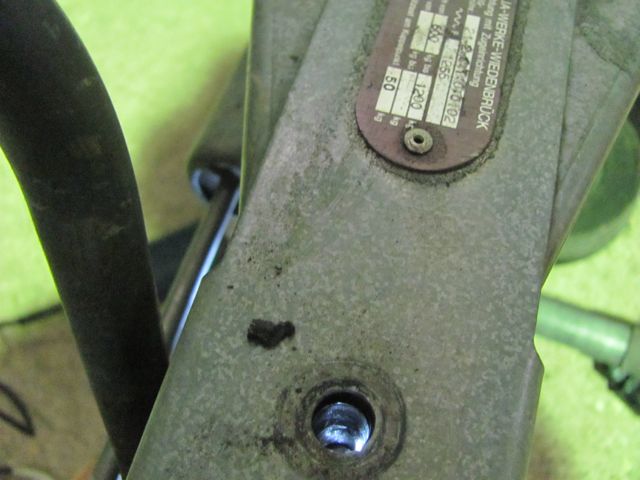 Once its in place align it with a something like a Philips screwdriver and drop the bolt in. Give the damper a good wriggle to make sure it really is in place then pull the drawtube fully forward so that the piston end eye disappears down it aligning with the rear coupling hole on the drawtube.
 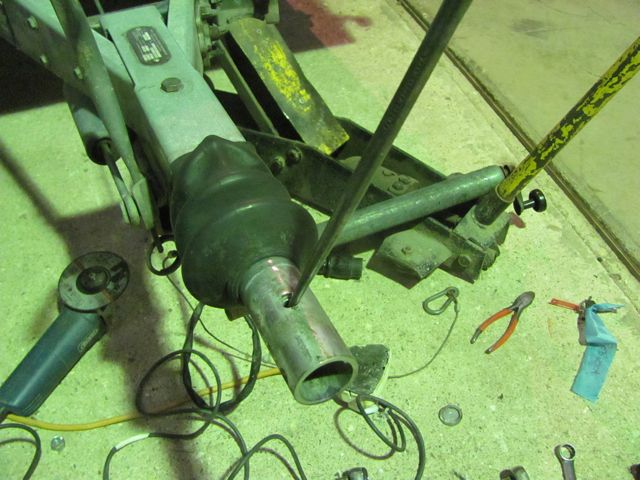 It won’t sit perfectly in line as it will need a slight bit of compression to get it aligned but don’t fret, you should be able to see at least half the eye in line with the holes. Have a hunt about for the front spacer and pop that in again aligning the holes with aid of a screwdriver or suchlike.
 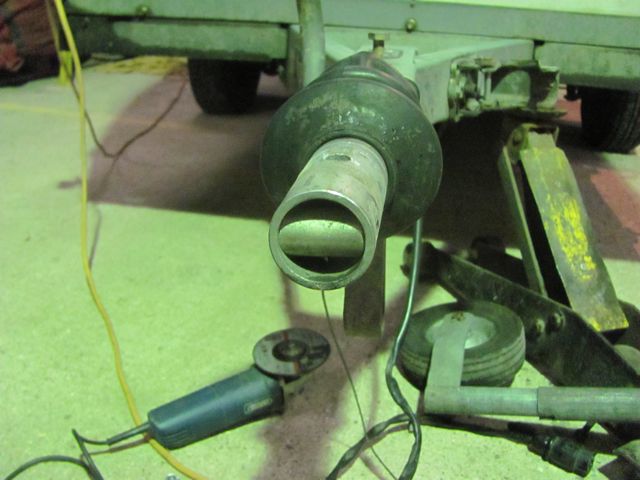 Next up cop hold of the coupling and push it back over the drawtube ensuring the bolt holes line up and push the front horizontal bolt through the spacer and nip up the nut (new nyloc preferably). Have a look down the rear coupling vertical bolt hole and using your now badly misused Phillips screwdriver through the bottom hole lever the damper backwards until the eye aligns with the bolt holes and drop the vertical bolt through pushing the Phillips out. We cheat a bit here as we have a old faithful Diesel injector lever bar which we stuff in the top hole, lever the damper back and push an old bolt up through the bottom.
  We then remove the bar and drop the vertical bolt in from the top pushing the old bolt out the bottom. Makes no difference really. Now all you need do is tighten the three nuts and bolts up fitting new nyloc nuts (M12 coupling and M10 for the drawtube housing one). The coupling bolts should be tightened to 75ft lbs (100Nm) which is well tight and the drawtube housing one to 50ft lbs (67Nm) which is tight. Quick check round to make sure everything is where it should be, tools away, whizz up the road to test all is well and job done.
If you are wondering why there is an angle grinder in half the shots the trailer coupling bolts had anti-theft cups fitted to them which had to be cut off first. There are three types of damper, the most common being the one featured here and referred to as the ‘T-end type’. We have researched these dampers to try and find one that is a bit better made but to no avail. When you order a damper be sure to state the size, type of coupling (bolted or welded) and the load rating of the trailer. There are a couple of aftermarket lockable hitches that can be fitted to the drawtube. The one on this trailer is the hideous four-handed Triple-Lock Indespension one. If you have an early type drawtube with the welded on coupling we would recommend fitting the later bolt on coupling type. All the dampers come out at around £55-£60 plus VAT and postage. Most car spares centres supply M12 and M10 nylocs in packs of two or three. If you have to cut the coupling bolts off you must use high tensile ones to replace them. These usually have 8.8 embossed on the head. Although we keep dampers in stock they are for internal use (or emergencies) and we don’t usually post out so you are just as well ordering direct from Andy Kaye. Delivery is usually 3-5 days days. Contact for Andy Kaye, Westfalia Trailers is ak.mvm@ukgateway.net.